Aaaaaahhhh - so DragonCon is behind me (sniff) and now I have time for leisure again. So while the Wicked cabbage skirt turned out awesomely, it wasn't quite what I was hoping for. The last blog left off with the making and trimming of the layers. I think it was 21 layers of tulle/net, ranging from 12-13" to 5-5.5" wide. I should have made the top layers smaller, so that there wasn't a 7-inch difference between the top and bottom. If I were to do it over, I would make the top layer 10" or less. As I had feared, the bottom 4 or 5 layers turn to the inside when the skirt is worn, thus rubbing against the wearer's legs and not providing the sharp finish at the bottom. I have not remedied that situation yet. But here's how I got to the current point.
I had to decide how far down from the waistline to begin the frills. I knew the bodice would have a wide peplum that would cover the blank part near the waist - so I just needed to decide how wide the peplum would be so I would know how much space to leave above the first frill. I think I left a little too much, but I can always shorten the base skirt at the waist and put in a new casing. I ended up about 5 inches from the top of the waistband of the base skirt.
 |
| First layer pinned to skirt, seam pointed down |
 |
| First frill added to base skirt |
Starting at the top, I sewed each frill along the base lines I had drawn on the skirt. Each frill was sewn with the seam allowance pointing down, so you wouldn't see it on top of the frill. This also helps the frill stand better, so I've read. Not all layers are straight across and not all layers go all the way around. It is against my engineering nature to make things so random, but I managed. I worked my way down to the smallest frill near the bottom of the skirt. The first few layers go on quite well, but once you get to the 7th or 8th, the volume of the thing starts to fight back. I ended up using twine and safety pins to "squish" the layers together to make it more managable under the sewing machine. By the end, I was starting to question my sanity. The last layer was sewn with not the kindest of words.
 |
| Sewing the frills down |
 |
| Sewing frills - closer to finished now |
 |
| Frills being pinned to skirt |
Pinning the layers to the skirt was probably the most tedious and time consuming part. I'm glad I had 1-inch intervals drawn onto the skirt. I should have made them 1/2-inch intervals, but I put good use to the ones I had. With this net and tulle, you need to pin A LOT to keep the frill along the line you want. I placed the skirt on my sewing board, to keep from pinning other parts of the skirt. I would have loved a wider surface so I could pin more at one time before having to shift the skirt to the next section. It would have been much easier to have each line drawn on for each frill - some were slanted, some were not all the way around, some doubled back on themselves - and just pin along the line instead of making new lines as I went. But that would have required more planning than I was willing to do at the time. Since this was a big experiment, I didn't know how to plan.
 |
| Frill pinned to skirt |
Three hoop layers were inserted in the top third of the frills, middle, and bottom third. I ended up using the top and bottom hoop layer only due to time constraints. I will likely add the middle hoop later. I used plastic strapping from the lumber department at Home Depot for cheap "boning". I wasn't willing to cough up the bucks for steel until I knew how this would turn out. I cut the strapping in half - to about 1/4" width. If there are snags on the boning it will catch on the net, so be sure to sand down the uneven spots before inserting it in the casing. I couldn't get the boning to lay flat (another point for steel no doubt), but I don't think it really matters in this case. The real trouble came in trying to adjust the frill layer to make a level hoop. This is not easily explained, and I've not solved the problem yet, but you can the see "worst-case" uneven hoop layer in the picture. I got pretty close to even by adjusting the gathers around the casing. This may be solved by adding the casing AFTER the frill has been gathered, but I added the casing first. I will say it is a pain to insert the boning into this much casing, especially since it is gathered. I imagine the edge of the frill may stand out more if the boning would lay flat in the casing, or perhaps a 1/8" wide boning rather than 1/4". Another thing to test.
 |
| Uneven plastic hoop before adjusting tension |
 |
| Adjusted hoop layer |
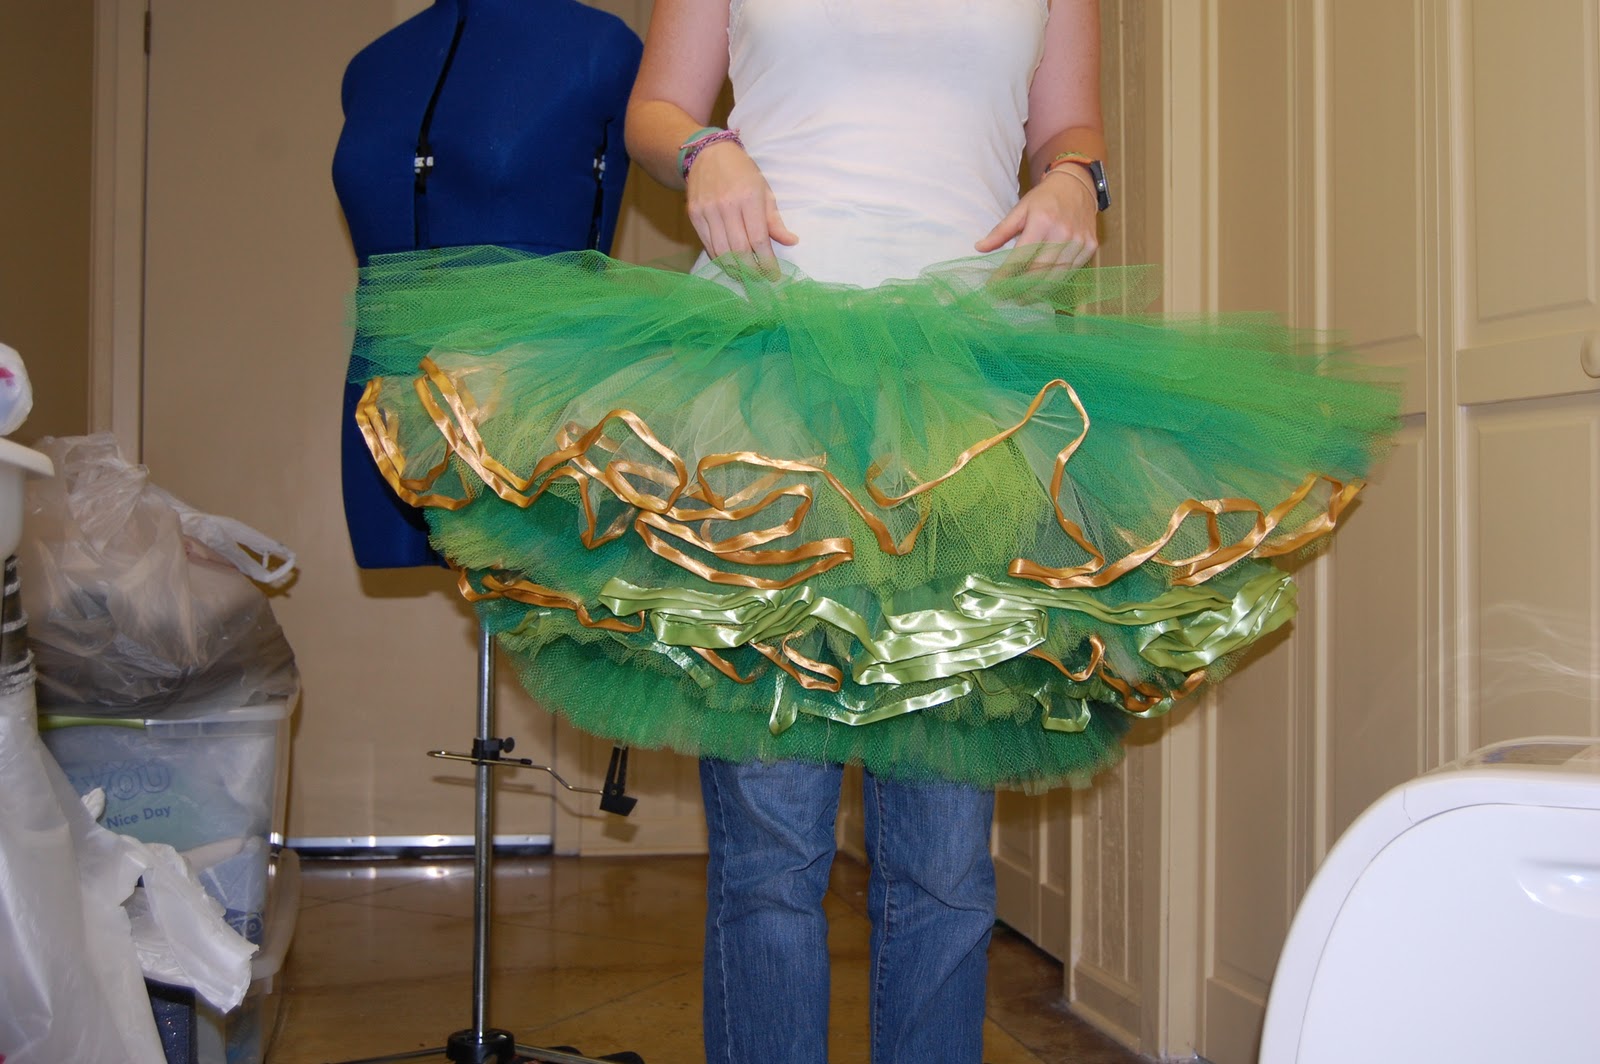
The skirt could stand up on its own - even without the boning in. Quite frankly, it would make a cute skirt upside down and can even be worn without the hoops for a softer look. I told my sister I might add a casing to the bottom so it could be worn either way. If I don't have to do something weird to it for the roll-under problem, that is.
 |
| Completed skirt, upside down |
There is still a little of the base skirt left at the bottom (maybe and inch or two in some places) and I've not decided whether to cut that off or add a casing for a hoop. As I said, the bottom of the skirt folds inward and it's not supposed to do that. I need to prevent the roll-in with some structural stability at the bottom or tie the frills together and pull them up with tension. Something to work on.
So with a few corrections needed, the skirt is complete. And pretty darn cute if I do say so myself. I put more hours into this skirt than any other costume I've made. I spent so much time with it this summer, I almost felt like it was my child. I was sad to give it away to my sister, but was so thrilled that she loved it. Next post will include pics of the top (work in progress) and completed (sort-of) costume.


No comments:
Post a Comment